Showing posts with label diy. Show all posts

January 14, 2015

diy toy crates

2015.01_toy crates
My homemade shelves found a new purpose! The shelves were originally built to showcase canned and fermented foods in our dining area. A year or two later we moved to a house with a smaller dining area so we stowed the shelves away in the second bedroom. Next we had a kid and the second bedroom became a kid's bedroom. Toys began to multiply so my dad helped me build wood crates to contain said toys. See? Lovely!

January 9, 2011

wireless internet antenna (WokFi)

We got tired of paying $60 a month for internet, so we decided to try something different: "WokFi". We use a parabolic-shaped wok strainer as an antenna to boost our signal from a particular access point from 30-40% (-76 dBm) to 60-80% (-66 dBm). The strainer was $8 and the USB wifi dongle was ~$15. There are lots of instructions out there.

In review, using the antenna boosts us from a barely useable connection to a pretty strong connection, but it's not perfect; I found it has to be mounted outside to get the best reception. I'm guessing this is because our windows have a metallic coating. With this set up, we have to be plugged in and can't move around the apartment, but we're okay with that. And now we don't have to give $720 a year to any of the big telecomm companies.

Side note: The USB wifi device that I bought has drivers for Linux, but I found it easier to use NDISwrapper to install the Windows drivers.

May 16, 2010

homemade tempeh

Earlier this week we made tempeh with some friends. I described the temperature controller we used in a previous post. The rest of the process included grinding, de-hulling, cooking, drying, and packaging.

So how did it turn out? Well, it was a bit "ripe"... We didn't get any photos, but the tempeh cakes were covered in white and black fuzz and smelled strongly of ammonia. The tempeh was mostly salvagable (including our experimental half-turtle bean batch). We cut off the exterior fuzz and fried the interiors until the smell wasn't very noticable.

We're not exactly sure what caused the "ripeness", but it was probably because, at the start, we had trouble maintaining the 85°F required with 6W (oops, I should've done a load calc on the cooler!) so we had to add some Christmas lights for extra heat. This caused the heat to be a bit uneven, so the tops were "done" while the bottoms were not yet solid. Oh well, we'll get better with practice!

As you can see in the before incubation photo below, we used banana leaves as the wrapper, as is traditional in Indonesia. I think next time, we'll try plastic bags because they allow you to check done-ness more easily.

Lessons Learned:
  • Make sure you have enough heat to keep the incubator/cooler at 85°F.
  • Put heat source at the bottom of the incubator.
  • Put tempeh cakes in the fridge to slow/stop at first sign of done-ness, as they'll continue to grow in the fridge until they get cold enough.
  • Plastic bags make checking done-ness easier (helpful for inexperienced tempeh makers like ourselves).
  • The half-soybean, half-black bean batch worked fine, but the resulting cakes were a bit more crumbly than the all-soybean variety.
Our friends who lived in Indonesia for a year cooked a tempeh feast. They made a variety of delicious dishes: oseng-oseng, tempe and tofu bacem, sweet potato, kale, and tempeh stew, and fried tempeh with sambal terong (spicy eggplant salsa).

The sandwich above is fried tempeh with sauerkraut and a peanut sauce.

November 5, 2009

holy scrap hot springs

This past weekend we went to the Holy Scrap Hot Springs homesteader gathering in Truth or Consequences, NM, where we met some great people and learned a lot of DIY skills. Subjects included how to make tempeh from scratch, how to transform coconut flakes into coconut butter and raw coconut "cheese" cake, how to cook in a dutch oven, how to carbonate soda, how to keep bees, how to work on a bike, and how to maintain and care for batteries.

Other highlights included doing yoga in the mornings,
soaking in the hot springs under starry skies, finding ridiculous Halloween costumes, plasma cutting a keg, and scoring loofah seeds in a seed swap. Soon enough I will be growing my own sponges!

September 27, 2009

"reclaim your palate" spice rack

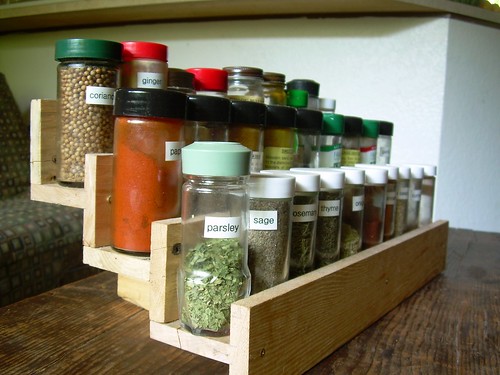
I made this spice rack out of reclaimed pallet wood, as part of the OPENworkshop put on in Summer 2007 by OPENSOURCE Art in Champaign-Urbana, Illinois. I realized that I never put a picture of the final product on the OPENworkshop blog, so I decided to take some pictures and write up a little about how I made this simple spice rack.

The rack was designed to fit spice jars up to 2" in diameter, and will fit 30 of these jars. There is lots of space underneath the stairs for storing bulk spice bags and other oddments.

First, we stripped the crossboards off of a bunch of trash-pile pallets. We developed a pretty good method using a circular saw and a pry-bar. Details of the method are described in this post on the OPENworkshop blog. Basically, you saw all the cross-boards in the center so they are easier to pry off. After prying the boards off, the next step is removing the nails from all of the boards using a hammer--hammering from behind and then prying from the front. The nails leave behind cool holes and discoloration patterns that add some character to your finished product.

Next, we planed all of the wood smooth with the electric planer that was generously lent to us, along with many of the other tools, for the OPENworkshop. The electric planer is a really nice tool when working with reclaimed wood. You could do the same with a hand plane, but I imagine it would take a lot longer.

Different pallets will yield different board lengths and thicknesses. There were a good number of pieces that were around 20" long, 3.5" wide, and 0.5+" thick (they must have been 1x4's originally), so I decided to use these for the spice rack. Using a table saw, I ripped seven of the pieces so that they were 2.5" wide. Using a miter saw, I cut them all down to 18" long. I used the planer again to get them all down to the uniform thickness of 0.5".

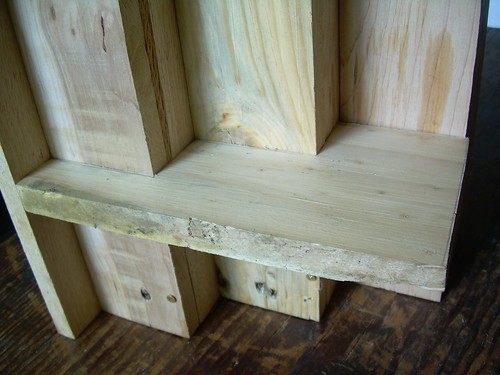
Then I made three 'T' shapes, screwed the three 'T's together, and then added a back. Then I traced the shape of these stair steps onto a miscellaneous pallet board (at least 4" x 7.5") and cut out two of these supports with a jigsaw. Screw the stairs to the two supports and you're done.
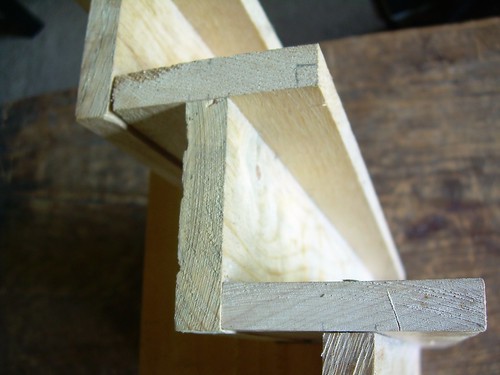
You can tell that I am not an experienced woodworker. I bought brass screws that were more decorative than anything else--the recess stripped incredibly easily.

I've thought about adding some side rails to keep jars from falling off the side, but I haven't really found them necessary and I like the more minimal look. I've also thought about staining or applying some sort of sealant to protect the wood from the liquid dangers of the kitchen, but I'm afraid anything I do will cover up the wood grain or make the finish too shiny, so I've just left it and it has been fine. More photos of the spice rack are on flickr.

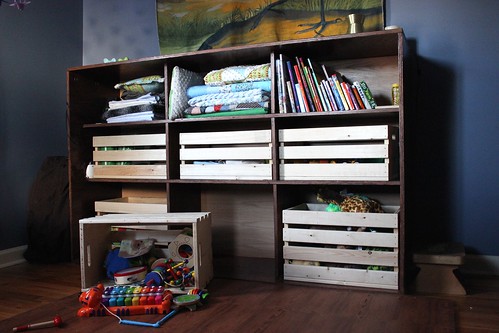
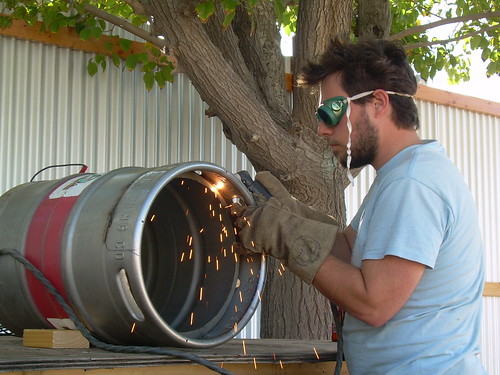
You really can make a lot from reclaimed wood. Check out Louis's diagrams showing his system for converting pallet wood and drywall scraps into a modular shelving system or lamps. Mike also made an incredible Illinois shelf.