Showing posts with label gardening. Show all posts

August 12, 2013

recent harvest

2013.08_some harvest
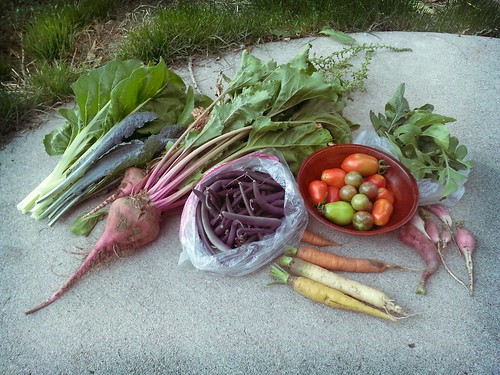
Just wanted to capture this for our record. I picked some tomatoes and a lot of purple string beans. I also harvested a number of things that we had mostly forgotten about or given up on: carrots, beets, radishes, chard, and kale. We even had three kohlrabi plants that are finally doing okay.

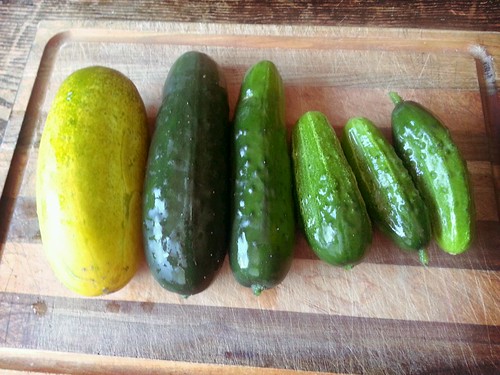
I also cleared the weeds around the cucumber plants and discovered a bunch of ripe cucumbers:
2013.08_cucumbers

August 11, 2013

blossom end rot

2013.08_blossom end rot
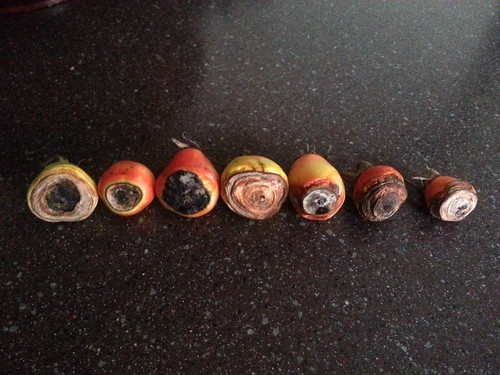
The first set of ripe tomatoes we've gotten have all had black or brown spots on their bottoms, which looks like blossom end rot. Anna from The Walden Effect, explains that it isn't caused by a virus, bacterium, or fungus, but rather by calcium deficiency. This doesn't necessary mean you need to go crush up some eggshells by your tomato plants; Anna explains that a range of factors, from drought, root damage, excessive heat, or even fast plant growth, can lead to calcium deficiency.

Luckily, blossom end rot is most common on early season tomatoes, and, as we've noticed in our garden, the problem diminishes with subsequent sets of ripening tomatoes. If the spot is small, you can simply cut it off and enjoy the rest of the tomato.

April 7, 2012

garden plot update

2012.04_early spring garden

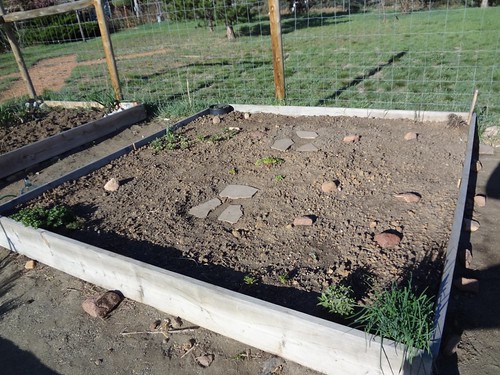
I've been negligent about posting about our garden plot this spring. Here it is as of today. In mid March we double-dug and added 3 bags of compost/manure plus worm castings. At that time, there were some survivors from fall plantings of arugula and lettuce, including enough arugula for one delicious arugula wrap.
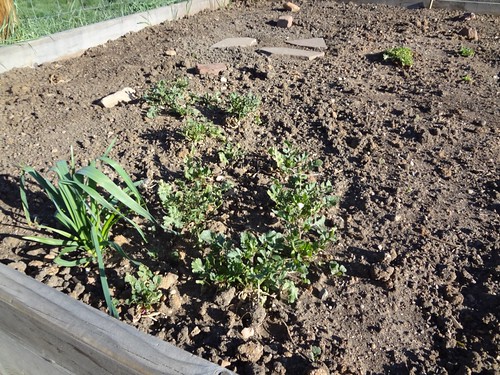
2012.04_arugula survivors

We switched from a path to two stone spots, which I think will give us more maneuverability while taking up less space.

Here is our master plan:
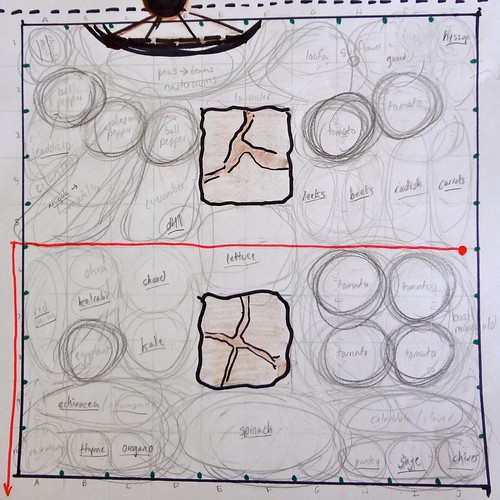
2012.04_garden plan

Note the coordinate system... A3... you sunk my radicchio!

So far we have planted: arugula, radicchio, dill, lettuce, leeks, beets, radishes, carrots, red onion, kohlrabi, chard, kale, echinacea, chamomile, spinach, and parsley.

And are enjoying our perennials, some of which were gifted to us last fall: hyssop, chocolate mint, echinacea, thyme, oregano, sage, chives.

The exploding chives bring joy to the early spring—their strength is admirable.

March 20, 2011

bulk compost

Time to start prepping our community garden plot! Growing Gardens, the organization that manages Boulder's community gardening system, had a truck load of compost delivered to one of the the bigger community gardens in Boulder. They sold the compost by the wheel barrow. We ended up with 3 wheel barrows of compost which we bagged and hauled across town with an eGo carshare car. Did I mention how beautiful the weather was?

March 14, 2010

diy grow light

Time to start seedlings! Inspired by our friends Tom and Susan, we made this grow light. Store-bought grow lights can cost a pretty penny, but you can use standard linear fluorescents. You don't even need special full-spectrum lamps. Wikipedia and another source say that cool blue color temperature lamps are better for the initial growth stage, whereas the warm red-orange spectrum lamps are better for the flowering stage. Full-spectrum lamps can be ten times as expensive as standard lamps and are less efficient at providing the blue spectrum necessary for the initial growth stage. You can use one cooler color lamp and one warmer color lamp if you want to keep growing into the flowering stage. If you are a plant biologist, please correct me if I am wrong.

I think much of what you pay for in a commercial grow light is the super-duper reflector. We just used a section of round aluminum ductwork and it seems to work very well.

If you own your abode or if you have a cool landlord, you can simply hang the fluorescent fixture from the ceiling above your seedling table. Since we don't own and our landlord isn't that cool, we built a stand out of PVC pipe to hold up the fluorescent bulbs. From what we've read, you're supposed to keep fluorescent lights 4 inches above the tops of the plants, so we incorporated a method to raise and lower the lights by adjusting the length of chain.

Our total cost was about $35 but I am sure if you found a used 4 foot fixture you could do it for way less. For maximum energy efficiency, look for T8 or T5 lamps, and avoid T12s. We spent most of the $35 on a new, energy efficient 2 foot T5 fixture because we live in a tiny apartment where counter space is limited.

Here's what we used:
4 - 5" long 3/4" diameter PVC pipe (stand base)
2 - 28" long 3/4" diameter PVC pipe (stand base)
2 - 20" long 3/4" diameter PVC pipe (stand verticals)
1 - 28" long 3/4" diameter PVC pipe (stand top)
8 - 3/4" PVC tee connector (stand joints)
2 - 1 1/4" diameter rings (hang around the top of the stand)
2 - carabiners (connect the light fixture to the rings)
1 - 2-lamp T5 linear fluorescent light fixture
1 - grounded power cord
1 - switch
1 - 3x24" aluminum snap lock duct vent (light reflector)

Optional bits:
2 - 6" chains (to adjust the height of the light fixture)
2 - carabiners (to adjust the height of the light fixture)
1 - lighting timer (to turn the light on and off when you're not around)