 (photo from www.sisterbee.com)
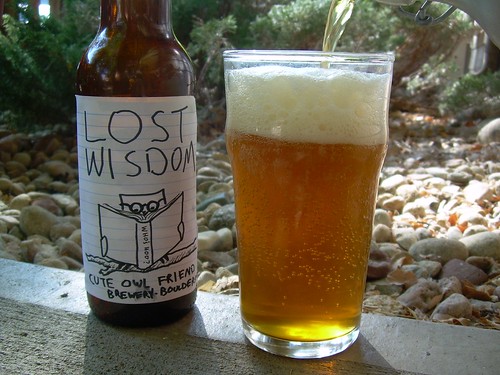
I just watched "
Sister Bee", a 30 minute documentary about bees and beekeepers. It was filmed in Boulder, CO and was recommended to me during
my permaculture course. I enjoyed how "Sister Bee" showcased the passion of beekeepers, but otherwise it was pretty introductory. There is one woman,
Julie Finley, who I wish I could have heard more from. The film ever so lightly touches on her top bar hives. And for serious, she works with the bees without a bee suit?! The film doesn't even get into how she is capable of that!
Julie Finley seemed to have a similar fringe approach to beekeeping as
Kelly Simmons who taught the backyard beekeeping portion of my permaculture course. Since Sister Bee didn't get into fringe beekeeping, I will share my class notes:
Bees are pollinators originally from the tropics. Europeans eventually imported bees and decided that larger bees were better because the honeycombs would have larger spaces and thus hold more honey. Basically over the years, the European beekeepers selectively kept colonies based on bee size.
Have you heard that our
honey bees are mysteriously dying? One theory out there is that there are mites that get to the bee larva. The European honey bees that everyone keeps are larger and take just a little bit longer to develop. That little bit longer might be the amount of time that the mites need to take control. Following that logic you might not want European honey bees for you backyard bees even though they are "more productive". Besides, if you're into caring for the earth and promoting species diversity, you wouldn't buy a white leghorn chicken when you could get an American Livestock Breed like
houdan, would you?
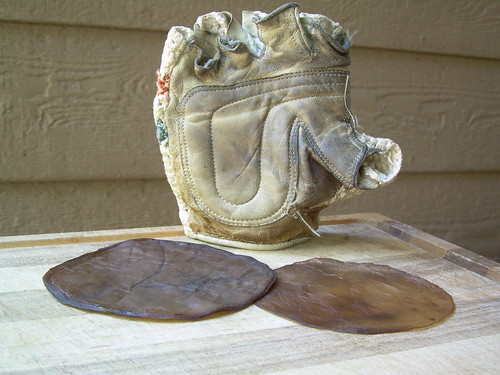
Back to bee history. Originally to get honey from wild bees, a person would tear apart a bee hive, effectively killing the colony. Beekeepers devised a kinder method of taking honey from the bees. They created potentially removable building platforms by laying sticks along the top of a beekeeping basket. This rudimentary top bar method has been around for thousands of years. Beekeeping was made more precise and gentler for the bees by
Langstroth in 1851. He made boxes with removable frames spaced bee width apart. Then to expidite the honey making process and ensure uniformity, people filled the frames with pre-formed honeycombs. The Langstroth hive is very common. If you meet someone who keeps bees, it's probably what they use. Only problem is that Langstroth is pretty pricey.
Top bar hives were modernized and brought to Kenya to empower the people there. Kenyans could construct the simple design on their own with scrap materials and quickly move into the business of beekeeping. The modern top bar design is a V shaped box with bars at the top. The bees go in and construct their own parabolic shaped combs and fill them with honey. To remove honey you simply take out a few bars, cut off the wax and honey, and return the bars. No special honey extracting equipment is needed and the colony is disturbed locally unlike in Lanstroth where you remove the entire lid off the box.
This actually relates back to the health of honey bees subject. Maybe our honey bees are dying because we stress them out all the time and they don't have the strength to overcome whatever is killing them. Instead of exposing them frequently to check on them and harvest as much honey as possible, we could let the bees do their thing and harvest once a year in late spring (after they've made it through the winter). Perhaps it's a matter of entering into beekeeping with a different agenda 1) to help out an awesome keystone species 2) to have your veggie garden (along with all of your neighbors' veggie gardens) pollinated 3) to occasionally get some honey.
As an apartment dweller I think, "Yeah yeah, our town has a beekeeper who sells his honey at the farmer's market. I'm covered for pollination and honey." The funny thing is that many local small business beekeepers earn their money more from renting out their little pollinators than from selling honey.
Sounds like a win win situation, right? The bees get to frequent orchards in the winter. The beekeeper gets plenty of nectar for his bees to make honey. Thing is, it's not that easy. The little pollinators are trucked great distances to massive agribusiness orchards. Imagine getting jostled around in a truck for days with your door locked, then blindly released into a pesticide filled orchard. These bees are stressed! The beekeepers, of course, care deeply about their bees so they aid with antibiotics. Sigh.
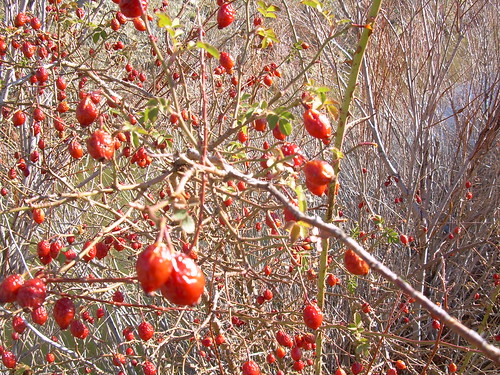
In conclusion, keeping your own bees and being "fringe" about it could really help. If you can't keep bees yet or you don't ever see yourself as a beekeeper, you could help the bees by planting bee forage!

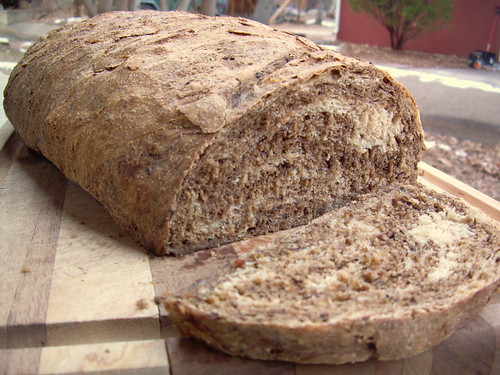
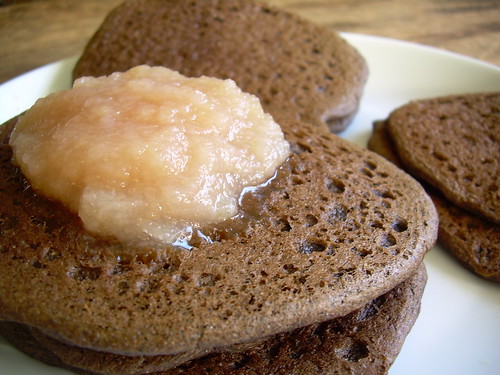
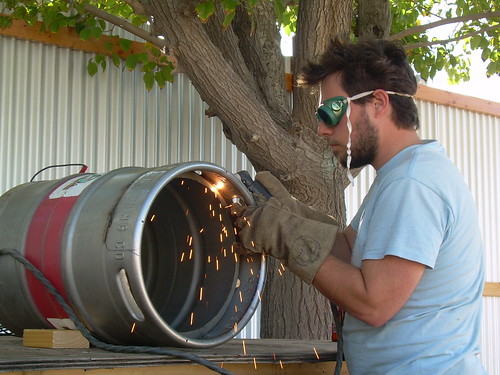
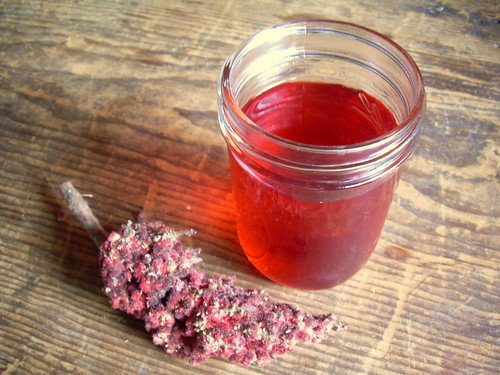
 We started this beer around Thanksgiving. It's in bottles now and should be ready in time for Christmas! It's a cranberry porter roughly based on a recipe we found online. You may have already heard mention of this porter in Eric's spent grain bread and pancakes posts. I thought I would give it a formal introduction.
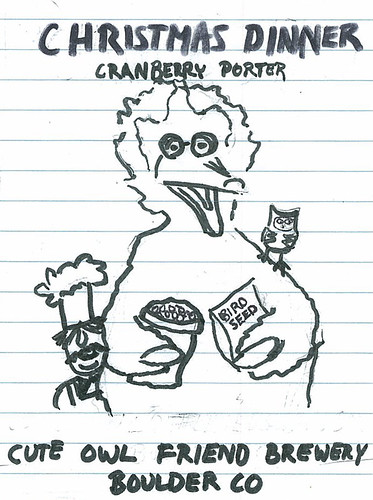 We came up with its name "Christmas Dinner" while boiling the wort. Here is the back story: do you remember in the Muppets/Sesame Street Christmas special when the Swedish Chef shows up to prepare Christmas dinner and mistakes Big Bird for the Christmas turkey? Swedish Chef tried to cook Big Bird! Luckily Big Bird won over the Swedish Chef with his charm and a gift of chocolate covered bird seed. They end up eating a vegetarian meal of shredded wheat and cranberry sauce.


